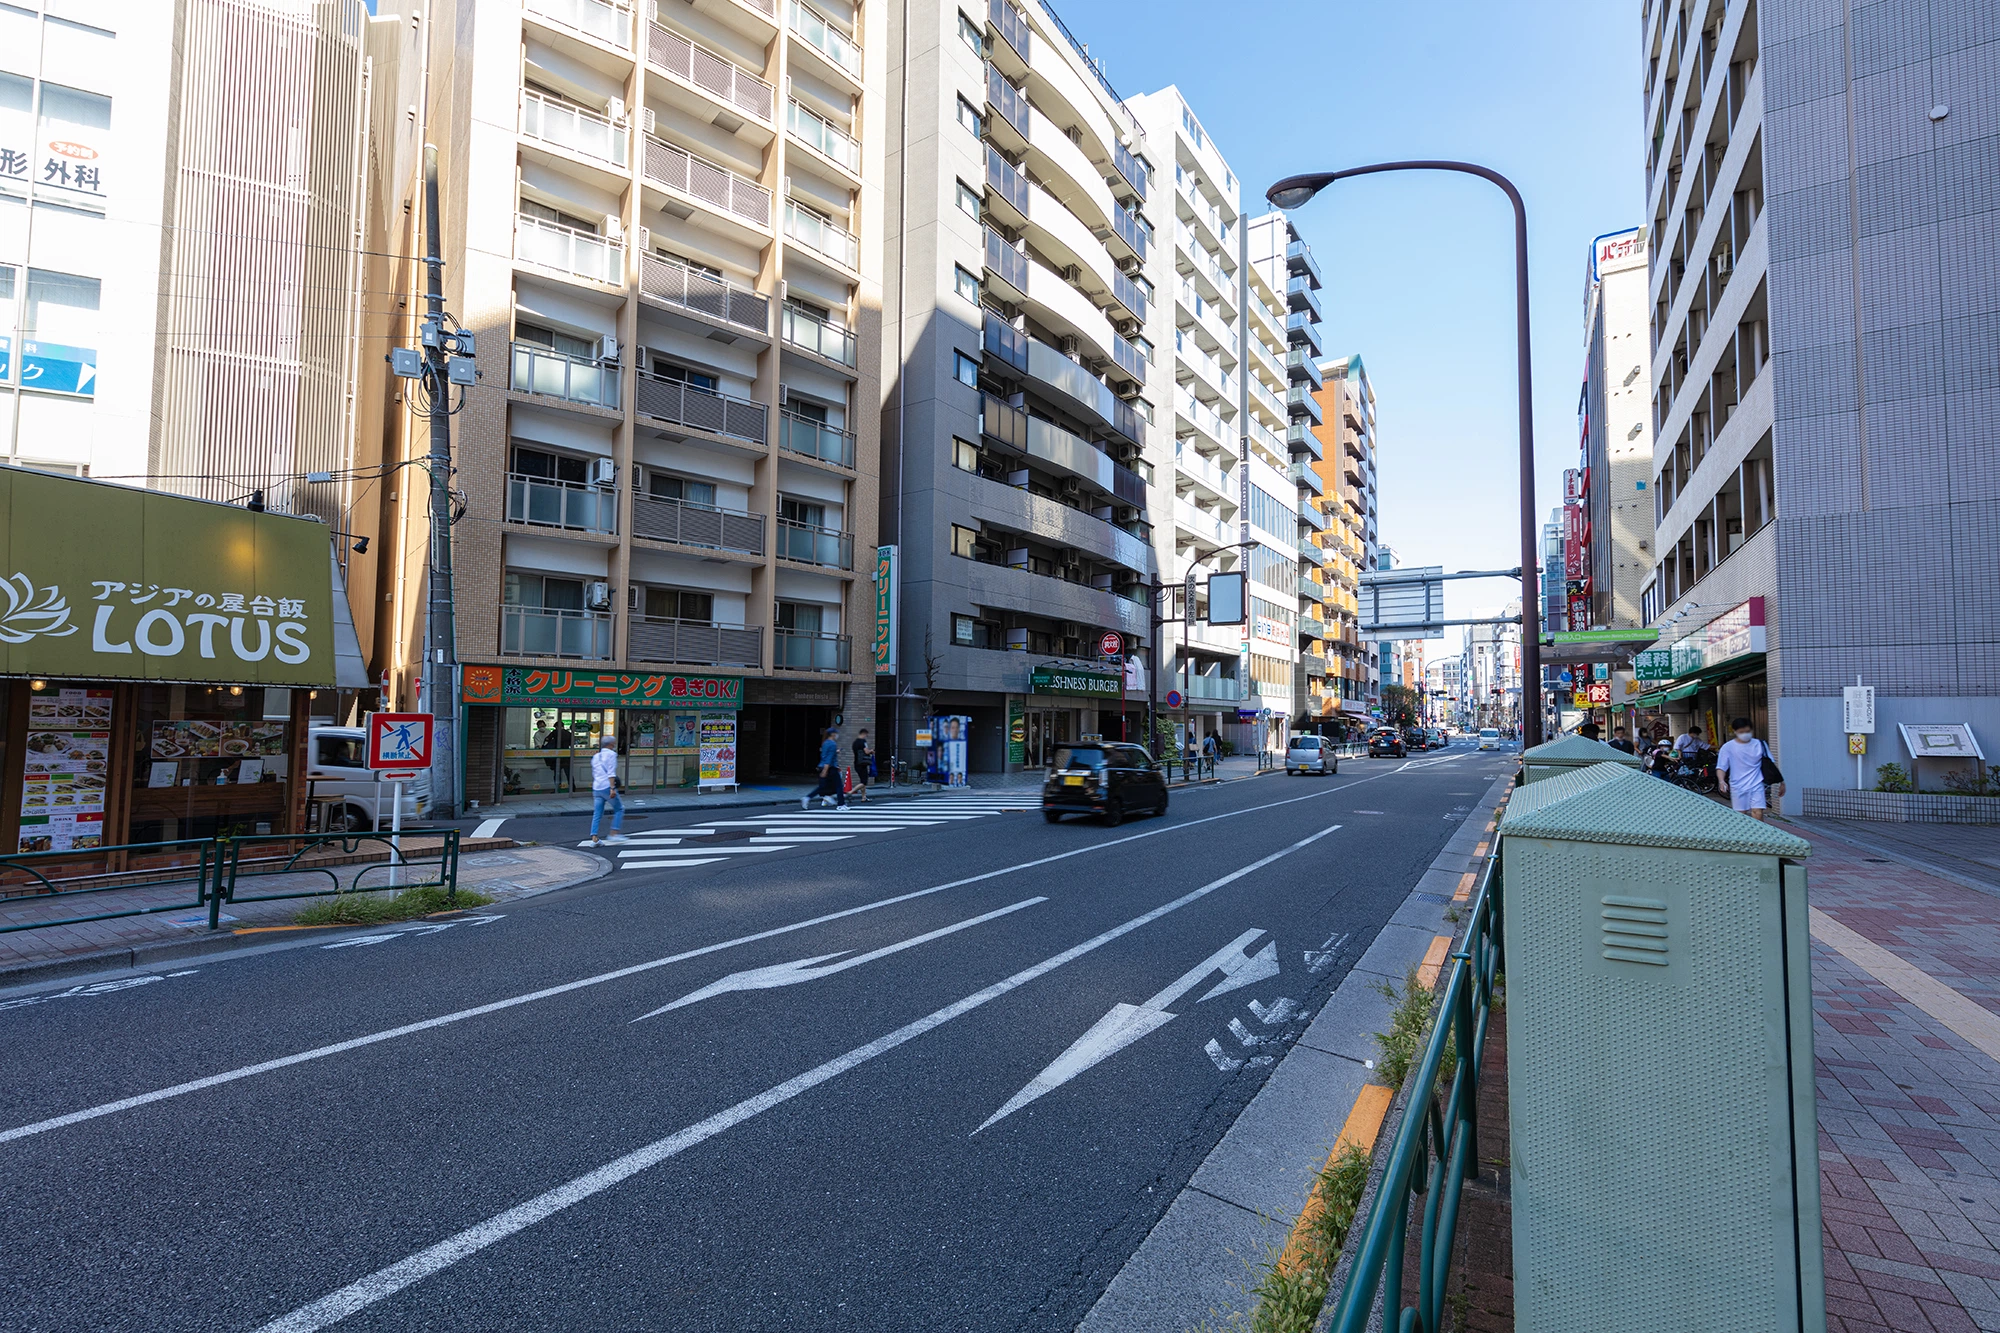
Nerima Senkawa Street Free Stock Photos

練馬 千川通りのフリー写真素材

This is the page for downloading free Nerima Senkawa Street photo materials. Photock provides free Japanese landscape photos for use in website creation, YouTube, and other creative projects. No registration, credit attribution, or reporting is required. Feel free to edit, trace, and customize the photos as you wish.Terms of Use are here.

Related Photos

  • Free Shakujii Park Photo Material

    Shakujii Park

  • Free Shakujii Koen Station Photo Material

    Shakujii Koen Station

  • Free Shakujii Park Photo Material

    Shakujii Park

  • Free Around the north exit of Shakujii Koen Station Photo Material

    Around the north exit of Shakujii Koen Station

  • Free Shakujii Park Photo Material

    Shakujii Park

  • Free Around the north exit of Shakujii Koen Station Photo Material

    Around the north exit of Shakujii Koen Station

  • Free Shakujii Park Photo Material

    Shakujii Park

  • Free Around the south exit of Shakujii Koen Station Photo Material

    Around the south exit of Shakujii Koen Station

  • Free Around the south exit of Shakujii Koen Station Photo Material

    Around the south exit of Shakujii Koen Station

  • Free Shopping street around Shakujii Koen Station Photo Material

    Shopping street around Shakujii Koen Station

  • Free Shakujii Park Photo Material

    Shakujii Park

  • Free Shakujii Park Photo Material

    Shakujii Park

  • Free Shakujii Park Photo Material

    Shakujii Park

  • Free Nerima Toshimaen Street Photo Material

    Nerima Toshimaen Street

  • Free Shakujii Park Photo Material

    Shakujii Park

  • Free Toshimaen Station, Toei Subway Oedo Line Photo Material

    Toshimaen Station, Toei Subway Oedo Line

  • Free Hato and Nerima Station Photo Material

    Hato and Nerima Station

  • Free Seibu Railway Hibarigaoka Station North Exit Photo Material

    Seibu Railway Hibarigaoka Station North Exit

  • Free Around Nerima Station Central North Exit Photo Material

    Around Nerima Station Central North Exit

  • Free Hibarigaoka Kita Street Photo Material

    Hibarigaoka Kita Street

  • Free Around Nerima Station Central North Exit Photo Material

    Around Nerima Station Central North Exit

  • Free Seibu Ikebukuro Line departing from Hibarigaoka Station Photo Material

    Seibu Ikebukuro Line departing from Hibarigaoka Station

  • Free Seibu Railway Nerima Station Photo Material

    Seibu Railway Nerima Station

  • Free Seibu Railway Hibarigaoka Station South Exit Photo Material

    Seibu Railway Hibarigaoka Station South Exit

  • Free Around Nerima Station Photo Material

    Around Nerima Station

  • Free Hibarigaoka South Exit Station Photo Material

    Hibarigaoka South Exit Station

  • Free Nerima Mejiro Street Photo Material

    Nerima Mejiro Street

  • Free Hibarigaoka South Exit Station Photo Material

    Hibarigaoka South Exit Station

  • Free Around Nerima Station South Exit Photo Material

    Around Nerima Station South Exit

  • Free Hibarigaoka South Exit Station Photo Material

    Hibarigaoka South Exit Station

  • Free Nerima Toshimaen Street Photo Material

    Nerima Toshimaen Street

  • Free Hibarigaoka Station Line Photo Material

    Hibarigaoka Station Line

  • Free Nerima Near Toshimaen Station Photo Material

    Nerima Near Toshimaen Station

  • Free Seibu Railway Nerima Station Central North Exit Photo Material

    Seibu Railway Nerima Station Central North Exit

  • Free Seibu Railway Nerima Station Central North Exit Photo Material

    Seibu Railway Nerima Station Central North Exit

  • Free First Keihin Photo Material

    First Keihin

  • Free Around Omori Kaigan Station Photo Material

    Around Omori Kaigan Station

  • Free First Keihin Photo Material

    First Keihin

  • Free Old Tokaido Photo Material

    Old Tokaido

  • Free Kokufucho, Matsumoto City Photo Material

    Kokufucho, Matsumoto City

  • Free Matsumoto City Fukashi 2-chome Photo Material

    Matsumoto City Fukashi 2-chome

  • Free Ueda Station area Photo Material

    Ueda Station area

  • Free Ueda Station area Photo Material

    Ueda Station area

  • Free Chikuma City Road Photo Material

    Chikuma City Road

  • Free Kitahiroshima Ballpark Street Photo Material

    Kitahiroshima Ballpark Street

  • Free Kitahiroshima Ballpark Street Photo Material

    Kitahiroshima Ballpark Street

  • Free Kitahiroshima Ballpark Street Photo Material

    Kitahiroshima Ballpark Street

  • Free Kitahiroshima Misawa Photo Material

    Kitahiroshima Misawa

  • Free Kitahiroshima Hokushincho Photo Material

    Kitahiroshima Hokushincho

  • Free Miyanosawa Sasson Expressway entrance Photo Material

    Miyanosawa Sasson Expressway entrance

  • Free Sapporo Nishimachi Kita 20-chome Photo Material

    Sapporo Nishimachi Kita 20-chome

  • Free Sapporo Kotoni Photo Material

    Sapporo Kotoni

  • Free Sapporo Hachiken Photo Material

    Sapporo Hachiken

  • Free Soseigawa Street Photo Material

    Soseigawa Street

  • Free Kawasaki Daiichi Keihin Photo Material

    Kawasaki Daiichi Keihin

  • Free Kawasaki city Photo Material

    Kawasaki city

  • Free Kawasaki Daiichi Keihin Photo Material

    Kawasaki Daiichi Keihin

  • Free Zoshiki Photo Material

    Zoshiki

  • Free Kamata Kanpachi Street Photo Material

    Kamata Kanpachi Street

  • Free Kamata Kanpachi Street Photo Material

    Kamata Kanpachi Street