Around Nerima Station Free Stock Photos

練馬駅周辺のフリー写真素材

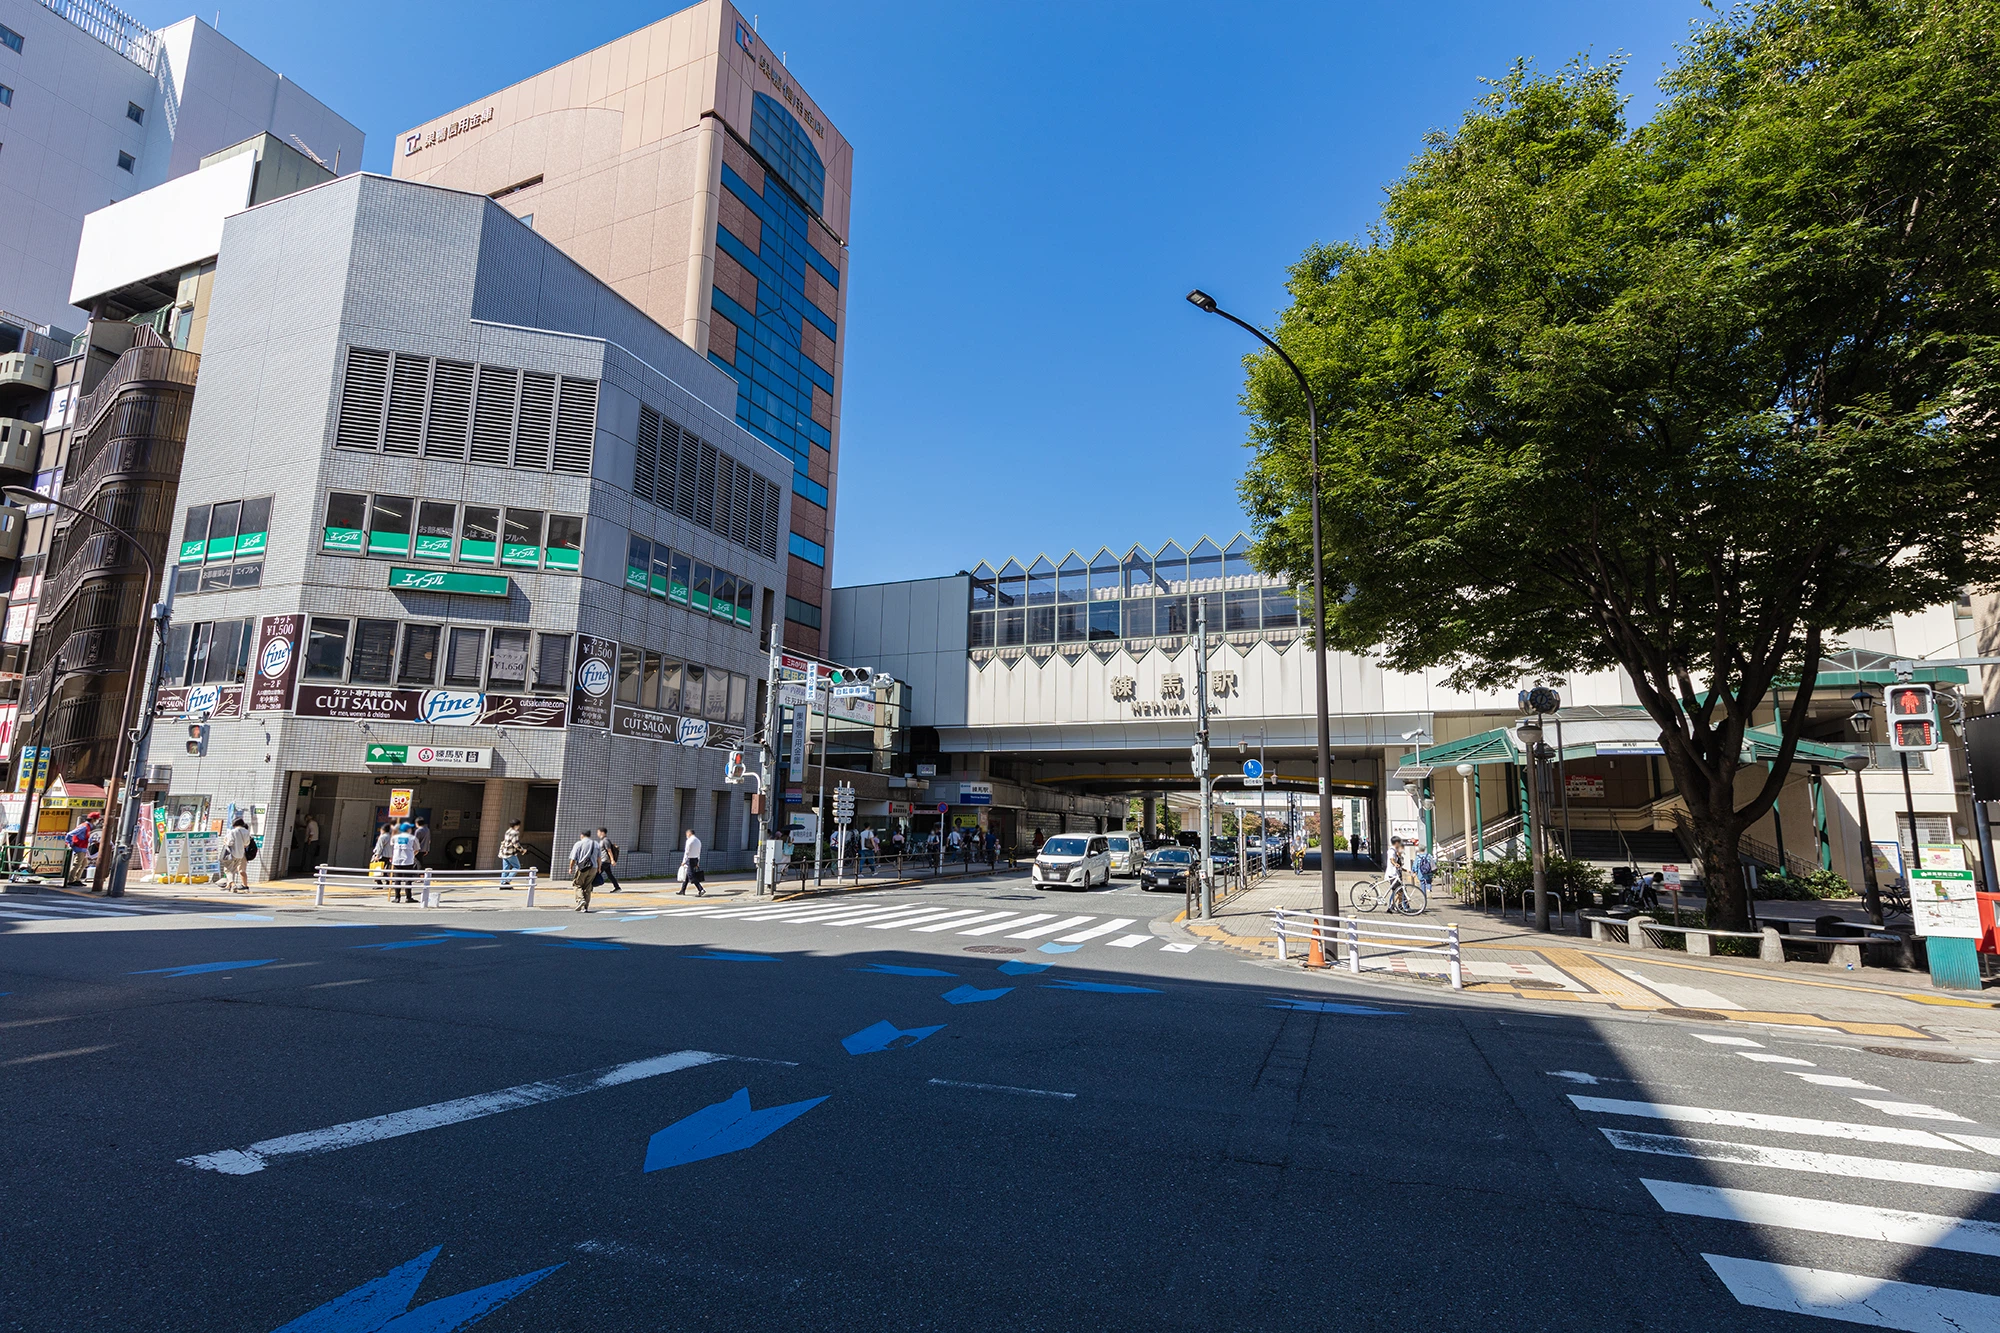
This is the page for downloading free Around Nerima Station photo materials. Photock provides free Japanese landscape photos for use in website creation, YouTube, and other creative projects. No registration, credit attribution, or reporting is required. Feel free to edit, trace, and customize the photos as you wish.Terms of Use are here.

Related Photos

  • Free Shakujii Park Photo Material

    Shakujii Park

  • Free Shakujii Koen Station Photo Material

    Shakujii Koen Station

  • Free Shakujii Park Photo Material

    Shakujii Park

  • Free Around the north exit of Shakujii Koen Station Photo Material

    Around the north exit of Shakujii Koen Station

  • Free Shakujii Park Photo Material

    Shakujii Park

  • Free Around the north exit of Shakujii Koen Station Photo Material

    Around the north exit of Shakujii Koen Station

  • Free Shakujii Park Photo Material

    Shakujii Park

  • Free Around the south exit of Shakujii Koen Station Photo Material

    Around the south exit of Shakujii Koen Station

  • Free Around the south exit of Shakujii Koen Station Photo Material

    Around the south exit of Shakujii Koen Station

  • Free Shopping street around Shakujii Koen Station Photo Material

    Shopping street around Shakujii Koen Station

  • Free Shakujii Park Photo Material

    Shakujii Park

  • Free Shakujii Park Photo Material

    Shakujii Park

  • Free Shakujii Park Photo Material

    Shakujii Park

  • Free Nerima Toshimaen Street Photo Material

    Nerima Toshimaen Street

  • Free Shakujii Park Photo Material

    Shakujii Park

  • Free Toshimaen Station, Toei Subway Oedo Line Photo Material

    Toshimaen Station, Toei Subway Oedo Line

  • Free Hato and Nerima Station Photo Material

    Hato and Nerima Station

  • Free Seibu Railway Hibarigaoka Station North Exit Photo Material

    Seibu Railway Hibarigaoka Station North Exit

  • Free Around Nerima Station Central North Exit Photo Material

    Around Nerima Station Central North Exit

  • Free Hibarigaoka Kita Street Photo Material

    Hibarigaoka Kita Street

  • Free Around Nerima Station Central North Exit Photo Material

    Around Nerima Station Central North Exit

  • Free Seibu Ikebukuro Line departing from Hibarigaoka Station Photo Material

    Seibu Ikebukuro Line departing from Hibarigaoka Station

  • Free Seibu Railway Nerima Station Photo Material

    Seibu Railway Nerima Station

  • Free Seibu Railway Hibarigaoka Station South Exit Photo Material

    Seibu Railway Hibarigaoka Station South Exit

  • Free Nerima Mejiro Street Photo Material

    Nerima Mejiro Street

  • Free Hibarigaoka South Exit Station Photo Material

    Hibarigaoka South Exit Station

  • Free Around Nerima Station South Exit Photo Material

    Around Nerima Station South Exit

  • Free Hibarigaoka South Exit Station Photo Material

    Hibarigaoka South Exit Station

  • Free Nerima Senkawa Street Photo Material

    Nerima Senkawa Street

  • Free Hibarigaoka South Exit Station Photo Material

    Hibarigaoka South Exit Station

  • Free Nerima Toshimaen Street Photo Material

    Nerima Toshimaen Street

  • Free Hibarigaoka Station Line Photo Material

    Hibarigaoka Station Line

  • Free Nerima Near Toshimaen Station Photo Material

    Nerima Near Toshimaen Station

  • Free Seibu Railway Nerima Station Central North Exit Photo Material

    Seibu Railway Nerima Station Central North Exit

  • Free Seibu Railway Nerima Station Central North Exit Photo Material

    Seibu Railway Nerima Station Central North Exit

  • Free Shin-Fuchu Kaido Photo Material

    Shin-Fuchu Kaido

  • Free Kokubunji Kumano Shrine Street Photo Material

    Kokubunji Kumano Shrine Street

  • Free Nishi-Shinjuku intersection Photo Material

    Nishi-Shinjuku intersection

  • Free Nishi-Shinjuku intersection Photo Material

    Nishi-Shinjuku intersection

  • Free Shinjuku 3-chome Photo Material

    Shinjuku 3-chome

  • Free Shinjuku O-guard East Area Photo Material

    Shinjuku O-guard East Area

  • Free Aomono Yokocho Photo Material

    Aomono Yokocho

  • Free Kokufucho, Matsumoto City Photo Material

    Kokufucho, Matsumoto City

  • Free Matsumoto City Fukashi 2-chome Photo Material

    Matsumoto City Fukashi 2-chome

  • Free Kitahiroshima Misawa Photo Material

    Kitahiroshima Misawa

  • Free Sapporo Nishimachi Kita 20-chome Photo Material

    Sapporo Nishimachi Kita 20-chome

  • Free Sapporo Yamanote Photo Material

    Sapporo Yamanote

  • Free Kotoni Townscape Photo Material

    Kotoni Townscape

  • Free Kotoni Townscape Photo Material

    Kotoni Townscape

  • Free Kotoni Townscape Photo Material

    Kotoni Townscape

  • Free Sapporo Hachiken Photo Material

    Sapporo Hachiken

  • Free Sapporo Higashi-kuyakusho-mae Station area Photo Material

    Sapporo Higashi-kuyakusho-mae Station area

  • Free Sapporo Higashi-kuyakusho-mae Station area Photo Material

    Sapporo Higashi-kuyakusho-mae Station area

  • Free Sapporo Sakaemachi Station area Photo Material

    Sapporo Sakaemachi Station area

  • Free Sapporo Sakaemachi Station area Photo Material

    Sapporo Sakaemachi Station area

  • Free Sapporo Sakaemachi Station area Photo Material

    Sapporo Sakaemachi Station area

  • Free Sapporo Sakaemachi Station area Photo Material

    Sapporo Sakaemachi Station area

  • Free Around Omori Station Photo Material

    Around Omori Station

  • Free Omori Sakura Shindo Photo Material

    Omori Sakura Shindo

  • Free Morioka Nakanohashi Street Photo Material

    Morioka Nakanohashi Street